Eye in the Sky
Created on 21 Nov 2016
Raspberry pi quadcopter with camera!
Create a raspberry pi quadcopter with a camera that syncs to a controller over bluetooth and displays video from the camera.

| Part | Cost | Quantity | Total |
| 503 Service Unavailable Error | $10.89 | 1 | $10.89 |
| Power Distribution Board | |||
| Raspberry Pi Camera Board v2 - 8 Megapixels ID: 3099 - $29.95 : Adafru | $29.95 | 1 | $29.95 |
| camera for quadcopter | |||
| 503 Service Unavailable Error | $58.00 | 1 | $58.00 |
| Motors and ESCs | |||
| 503 Service Unavailable Error | $7.95 | 1 | $7.95 |
| wire connectors for raspberry pi | |||
| 503 Service Unavailable Error | $10.99 | 1 | $10.99 |
| gyroscope/accelorometer for quad copter | |||
| Amazon.com: Raspberry Pi 3 Model B Motherboard: Computers & Accessorie | $37.79 | 1 | $37.79 |
| Raspberry pi 3 for controlling motors/camera | |||
| 503 Service Unavailable Error | $8.99 | 1 | $8.99 |
| propellers for quadcoptor | |||
| Amazon.com: Usmile 3K Carbon Fiber 250mm miniquad with integrated PDB | $22.49 | 1 | $22.49 |
| quadcopter frame | |||
| 503 Service Unavailable Error | $30.00 | 1 | $30.00 |
| Batteries (rechargeable) | |||
| 503 Service Unavailable Error | $10.00 | 1 | $10.00 |
| backup propellers | |||
| Project Totals: | 10 | $227.05 | |
| Track 1 Base Budget: | $250.00 | ||
| Preferred Vendor Budget Bonus: | $50.00 | ||
| Remaining Budget: | $72.95 | ||


Adit Namdev
18 Jan 2017, 3:10 a.m. EST
Saturday 1/15:
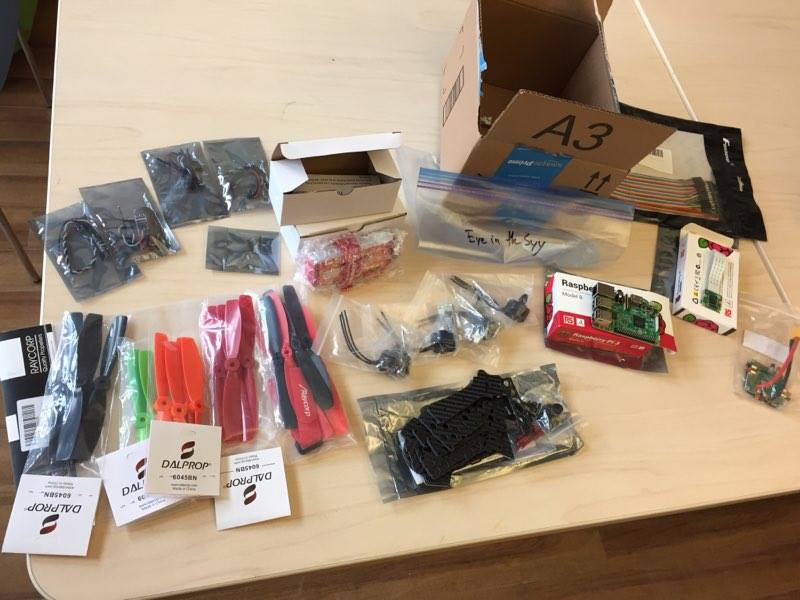
Just received our parts! We developed a plan for the week. We will spend today and tomorrow figuring out the necessary APIs before building the quadcopter.
Adit Namdev
18 Jan 2017, 3:13 a.m. EST
Monday 1/17:
We constructed the drone frame to understand where each part would go. We familiarized ourselves with the Electronic Speed Controllers (ESC) and the brushless motors. We were able to use a lab power source (to power the motor) and a waveform generator (PWM for the ESC) to calibrate and test the motors.
Adit Namdev
18 Jan 2017, 3:20 a.m. EST
Tuesday 1/18:
1. Constructed the frame and soldered the motors, ESCs, and battery cables to the frame (which has a built in power distribution board).
2. Tested each motor after connection using the lab power source and waveform generator with success.
3. Connected all ESCs in parallel with the waveform generator. Used battery as power source. We were able to achieve our first lift off!
4. Successfully connected and interfaced with camera on the Raspberry Pi 3.
Adit Namdev
18 Jan 2017, 3:23 a.m. EST
Tuesday 1/17 (continued):
5. Used PyBluez to communicate between Raspberry Pi and computer. This will be used to control the quadcopter.
Adit Namdev
20 Jan 2017, 2:55 a.m. EST
Wednesday 1/18: 1. Used Rpi.GPIO library to connect motors to Raspberry Pi. 2. Allowed game controller inputs to be sent via bluetooth from PC to Raspberry Pi. 3. Made prototype build of entire quadcopter.
Adit Namdev
20 Jan 2017, 3 a.m. EST
Thursday 1/19: 1. We needed to power the Raspberry Pi remotely. Thus we used a voltage regulator to power the RPi with 5V (the necessary startup voltage) while using an 8V battery. 2. We finally made our first flight tests. The quadcopter, unfortunately, would flip over every time. We noticed that each motor moved a different speeds despite giving it the same commands. Thus we developed a prototype PID controller to interface with a gyroscope/accelerator, which would try to correct motor speeds.